Wednesday, May 18, 2011

Long Absense


Please forgive my long absence. There seem to be many things demanding my attention other than this blog. I thought I would post a little section out of one of my class handouts about the preparation of a Peter Pan collar. I always work my collars in a block method which seems to help eliminate the possibility of stretching the collar out of shape before it is even attached to the dress. The collar was designed to complement the smocked dress shown below. The collar is white cotton pique and the dress is a Fabric Finders 100% cotton floral print.

A. Preparing the Collar


1. Cut a 14” wide by 8” long rectangle of the collar fabric. Using a #2 pencil trace the collar outline (make sure to do a left and a right) onto the right side of the fabric. Be careful to line up the grain line of the collar to the grain line of the fabric. DO NOT cut out the collars. Mark the center front, center back, and the shoulder line. Fuse lightweight interfacing to the wrong side. Mark and work the hand embroidery on the two collars using the embroidery guide provided.


2. Cut a length of piping the approximate length of the collar perimeter. Clip into the seam allowance at 1/2” intervals. Working with the grooved foot used to make the piping stitch the piping (2.0L) to the collar, stitching just inside the stitching line on the piping. Be careful to keep the raw edges of the piping aligned to the drawn collar perimeter. Do not stretch the piping while stitching.


3. Matching fabric grain lines lay the collar backing, right sides together, over the piped collar front. Pin in place. Neither the collar front, or the collar back is cut out yet. Using the stitching line from Step 2 as a guide, stitch again, (1.5L) around the collar perimeter.


4. Stitch again, (1.5L) in the seam allowance 1/16” from the stitching line in Step


5. Trim through all layers right next to the second stitching line.


6. Cut out the neckline curve, through all layers, approximately ½” from the pencil line and turn the collar right sides out. Gently press the outside edges of the collar keeping the tip of the iron on the piping.


7. Make a ¼” turned bias tube the measurement of the outside of the collar plus at least 2”. Work over two layers of tissue paper and use the edge of your sewing machine foot (adjust needle position as necessary) to make a stitching line 5/16” away from the fold line of the 1 ½” wide bias strip.


8. Tear the tissue paper away and trim the seam allowance down to 1/8”.


9. Turn the tube right sides out with a ‘Fasturn’ and gently press rolling the seam line slightly to the wrong side.


10. Baste (5.0L) the piped collar onto a double thickness of notebook paper, stitching just inside the piped edge of the collar. Backstitch to secure at the beginning and the end. Stitch a second time, ¼” away from the piped edge of the collar using a 3.5L stitch.


11. Using a steam iron, shape the turned ¼” bias tube around the ¼” stitching line. Machine baste (5.0L) down the center of the bias tube, backstitching at the beginning and the end to secure.


12. Trim both layers of notebook paper to within ¾” of the turned bias tube.


13. Using a #8 crewel needle and #80 tatting thread, faggot the piped edge of the collar to the ¼” turned bias tube. Keep a consistent tension around the collar. Work with a long thread so as to not have too many tie on's and tie off's. Use the machine stitches on the ¼” second stitching line as a guide to place your hand stitches at the turned bias edge.


14. Be sure to start the hand stitching below the cutting line so the hand stitches will not be cut when the collar in sewn into the neckline.


15. Remove the basting thread lines from the piping and the
turned bias tube to release the stabilizing paper. Press well.


~ ~ ~ ~ ~ ~ ~ ~ ~ ~ ~ ~ ~ ~ ~ ~ ~ ~ ~ ~ ~ ~ ~ ~ ~ ~ ~ ~ ~ ~ ~ ~ ~

P.S. - Oh to be fifteen, flying, and fearless. My youngest son is permanently attached, except in this picture to his much loved Flying Bhangra.

Tuesday, February 1, 2011

Floofys, Floofys, Everywhere

If you thought I was never coming back to post anything on my blog I have to confess I thought the same thing. Sometimes life just happens but hopefully my life will once again allow me to check in here more often. I firmly believe that knitting is good for the soul. It's a rhythmic, quiet, individual process that suits me just perfectly. I can't stop making Floofy's. If you read back several posts I got hooked on these while teaching for the Bewitching Stitchers SAGA group in Boston. Lucky for me, I will be going back to teach for the same guild in March and will get to revisit 'Yarns In the Farms' where all this started. The photos are of my two favorite Texas girls (oldest daughter and oldest grand daughter)wearing their birthday Floofy's and my gorgeous, good natured twelve year old wearing hers.

Sunday, October 10, 2010

Lacy Wrap Dress

In the process of stitching lots of practical things I find myself forgetting how much I enjoy working with lace. This dress has been designed and stitched to be a preday class at the Martha Pullen school in February and July of 2011. The entire front wrap bodice, back bodice and sleeve of the dress are strips of French and Swiss laces worked over a layer of silk organza. The skirt is silk organza over blue cotton batiste.


The bodice and sleeve edges are finished with entredeux, 1/4" Swiss edging, and running stitch worked with three strands of DMC floss.


Hailey did a little try on for me. Notice all the missing teeth - she's so happy to be going to kindergarten this year.

Saturday, September 4, 2010

Silk Dress Binge

I'm on a bit of a silk dress binge. I like the intensity of the silk colors and the crisp feel of the fabric. This first dress is a copy of 'Eloise' which was featured on the cover of AS&E #87. The original dress was made from a beautiful tropical weight men's grey flannel suiting. It might be one of my favorite dresses I have ever made.


My new version is apple green silk. It was sold as dupioni but it really feels and behaves like silk taffeta.


There are a few things I have learned along the way when working with this silk. It seems to work best to interface the area to be smocked prior to pleating the fabric with a very lightweight interfacing. The stuff I'm most partial to at the moment is the 'Baby' interfacing you can get from Sally at Farmhouse Fabrics (www.farmhousefabrics.com) It seems to add just the right amount of body and stability to the outer fabric. You will have a hot mess on your hands if you try to just pleat the silk on the cross grain without adding the interfacing. Trust me on this. The second thing I have discovered is that this silk does not gather very nicely (really not very nicely!) on the cross or lengthwise grain. Areas that required gathers such as the skirt back to the bodice back presented a big problem. I got around this by softly pleating, big 2" pleats, the skirt back to the bodice back.


I really like the formal, almost bridal look this gives to the back of the dress. The next problem was the sleeve which required gathers on the cap and at the cuff. I found that cutting the entire sleeve on the bias solved the problem. For some mysterious reason the silk gathered beautifully across the bias. This dress is for a class I'm teaching at the Children's Corner in Nashville Tennessee in October.


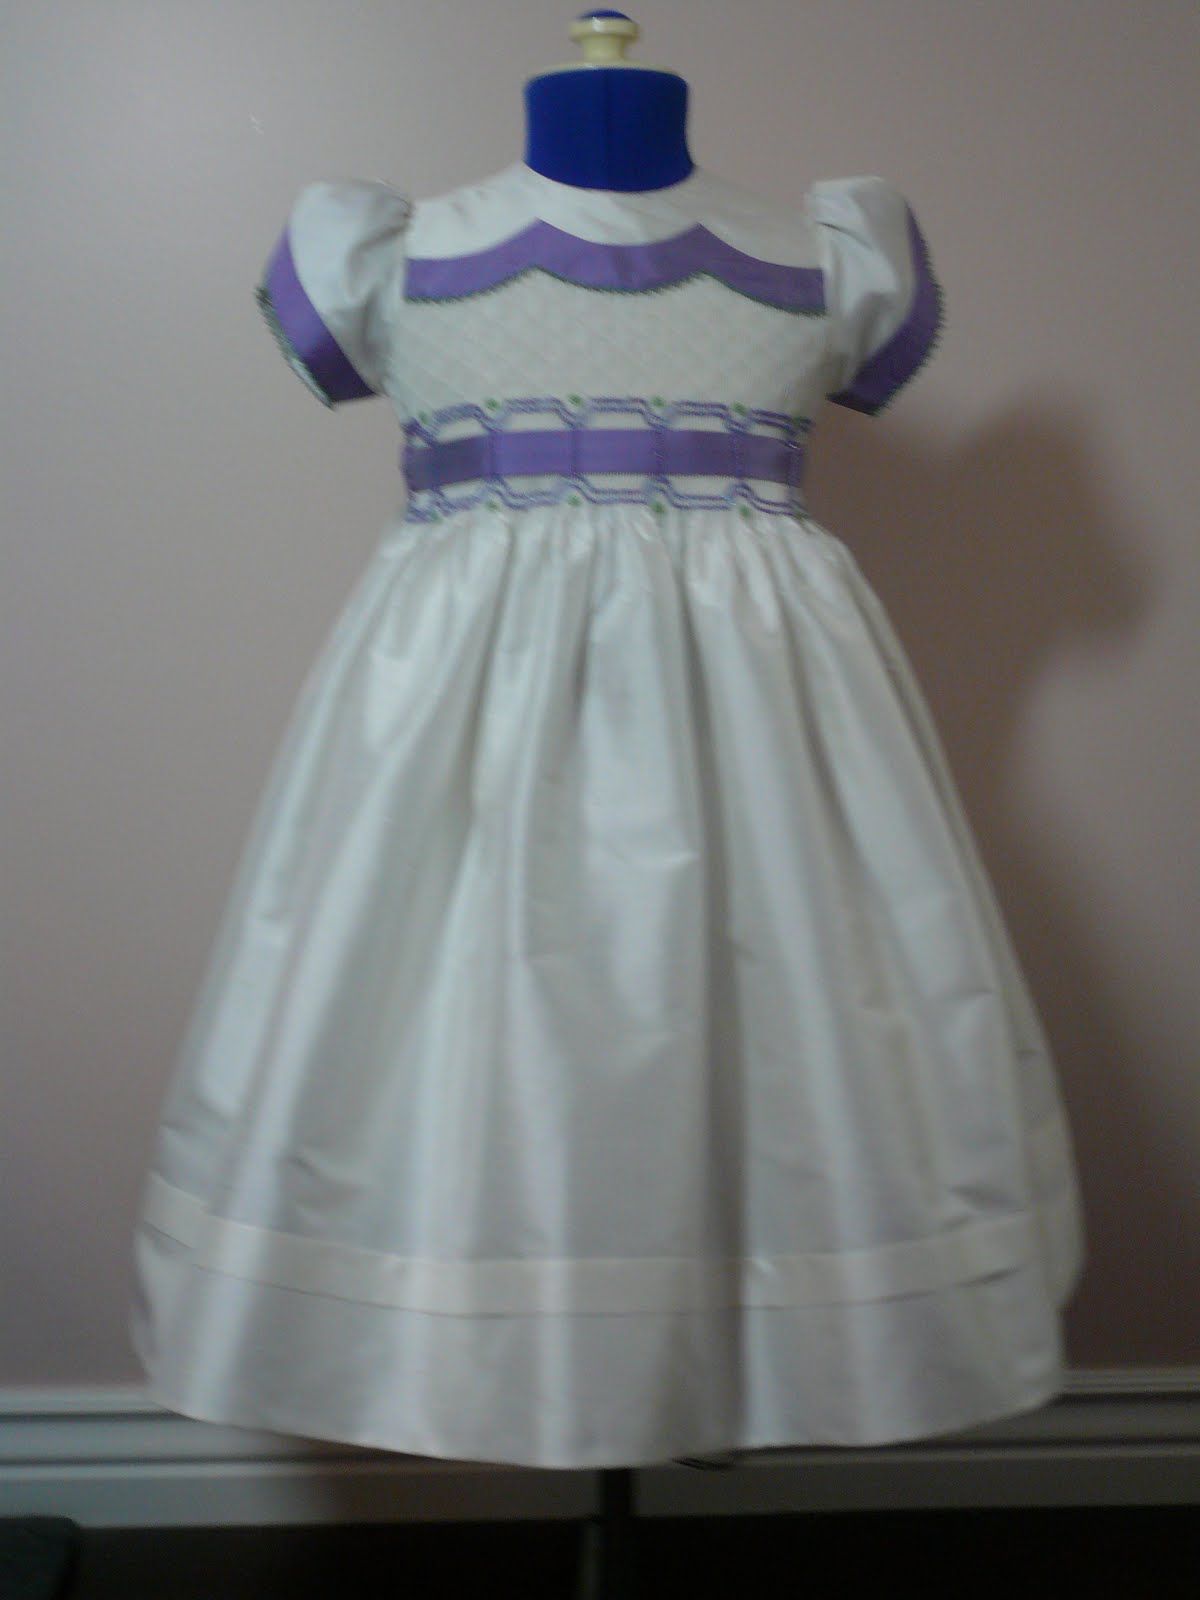
This next dress is another color version of the silk dress Jorden was modeling in a previous post. The fabric is the ivory silk taffeta trimmed with lavender and smocked with Mill Hill seed beads.


I quite like the strong contrast the darker lavender provides. The Mill Hill beads add just the right amount of bling. I think both these dresses would be prefect for flower girls in almost any color combination. I'm thinking about a lime green/hot pink combination next. This project is also for a class at Martha's Pullens in February and July of next year.


Matt (5th child) moved away to college last week. The house is achingly quiet. Who would have thought I would have missed all that piano banging, viola plucking, guitar strumming, loud singing, craziness already. If you want to check in on him look at www.matthewdoane.blogspot.com - maybe this is mom bias but I think he is quite an interesting writer.

Monday, July 19, 2010

Before and After


Sweet baby Jane turned one year old this week. The before and after pictures speak for themselves.

Wild Thing!


Here's a photo of my oldest granddaughter Jorden wearing a new smocked silk dress. It's a adaptation of one of the dresses in my 'Sew Cute Couture' book. The project was a little exercise in smocking an entire dress without any of the actual smocking stitches showing on the right side of the dress. All the stitches are either beaded or back stitched. I plan to use this dress as a class project in 2011. Jorden could not resist popping off a cartwheel before we could rescue the dress off of her.

Wednesday, July 14, 2010

Some Things Are Just Perfect


Still rock'in hard at 68 - maybe there is hope for all of us. A big thank you to my good friends Wendy and Randy who gifted me these near front row tickets. Perfect night, perfect outdoor venue, perfect music.